Table of Contents
Basic Architecture
The architecture for this application is that of a web app. It will use an MVC [Model, View, Controller] architecture to separate concerns and allow people to interact with the mobile app in a clean and organized way. In Mobile App Architecture, the controller layer and view layer will exist on the server side and any data or business logic processing will be done here. Finally, we have an iOS/Android client that serves only as the UI for the front-end.
The Basic App Layout
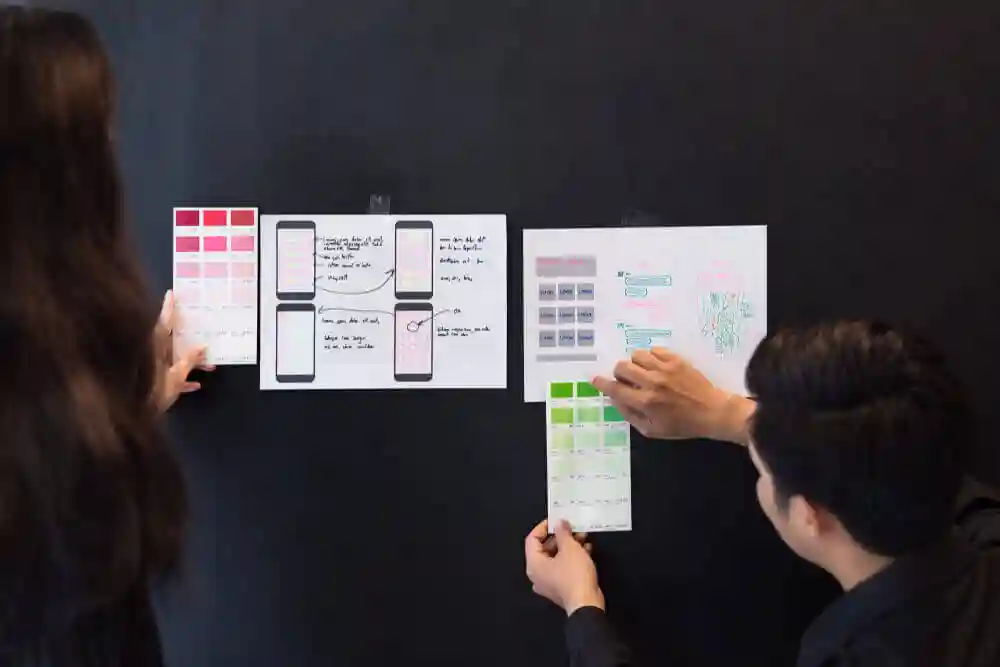
I am going to start off by saying that I am not a designer, but I did my best with what I had available to me at the moment. In order to get something up quickly, I had to go with some basic designs for everything. Thus, the layout of the app will follow a very simple concept: a navigation bar on top and a list view with details on the bottom.
- You may also like: Top 10 Mobile App Security Best Practices for Developers
The Navigation Bar
We have one main button that allows the user to add new items and a title bar at the top with 4 buttons for the main functionality. The first button is for creating new items, this opens up a form where you can add in some basic information which will then appear in your list view afterward. This feature has been implemented into Android already, but I am going to leave it out of the iOS client for now since we want to get an initial release out quickly.
The second button allows you to open up a detail view for any item in your list so you can make changes to it. This has not been implemented into Android yet, but iOS already has this functionality which you can test out if you have an iPhone or iPad handy.
The third button allows users to delete any item they want. It will ask for confirmation before executing the action just in case the user clicks on anything by accident.
The fourth and final button is for exiting the mobile application developer, so no new items are added nor are any existing ones changed.
List View with Details Button
On top of having a list view where all your information gets displayed, there is also a detail view that allows you to edit certain fields which may be required later on for whatever reason. The first thing we need here is some “Edit” text at the top of the view just to let the user know what this view allows them to do. Under that we have an “Add” button which will take you back to your list view so you can create a new item.
This is obviously not the final design for anything! You can see how I am using Android Studio to display what I am building, but there are many ways you could skin the cat hopefully with better design elements than me. The idea here is very simple though: “Create”, “Edit/View”, and “Delete”. These three buttons should be present on every screen (possibly only View on detail screens) if it is related in any way shape or form to data entry or management of said data.
Data Structure

In order to specify what data, we have, I have gone ahead and created a simple JSON file for this app. You can see it here:
{ “items”: [ { “<item>:<id>”: {“title”:”<title>”, “text”:”<text>”}, “name”:”<item name>”} ] } The first thing you probably noticed is that each item under the items array has an <item>:<id> structure present. This is where your items will get their unique identity from, so do not use two that are exactly the same or else you will run into problems pretty quickly. The other key values exist as follows:
– title: Obviously the title of your item here… duh…
– text: This is just some filler for this demo, but the cool thing about it is that you can create sub-titles by inserting line breaks with “
“. So if you wanted to have a list of items on one screen and separate them better by creating headers every so often, go ahead and use “
” to create new headings.
– id : You need this key for each item in your array so they get properly sorted.
– name: Just like text, having a distinct name will help out tremendously when sorting through data later on (i.e. alphabetical order). Once I figure out how to write dynamic code using JSON files, these titles should fill themselves in automatically with whatever content is present underneath.
Now let’s see how we can display this data in our app:
public class MainActivity extends Activity { /** Called when the activity is first created. */ @Override public void onCreate( BundlesavedInstanceState ) { super . onCreate( savedInstanceState ); setContentView ( R . layout .activity_main ); // Instantiate listview and inflate it ListView lv = new ListView ( this ); setListAdapter ( new ArrayAdapter< HashMap < String , Object >>( this , android . R .layout . simple_list_item_1 , ITEMS )); } private final static String [][] ITEMS = {{ “New” , “New Item 1” }, { “Edit/View” , “New Item 2” }, { “Delete” , “New Item 3” }}; // Return array of HashMaps @Override protected void onListItemClick ( ListView lv , View v , int position , long id ) { String id = (( TextView ) v . findViewById( R . id . text2 )). getText (). toString (); switch (position ) { case 0 : ITEMS [ 0 ][ 1 ] = “Android Rocks!” ; break ; case 1 : ITEMS [ 1 ][ 1 ] = “How I wish Java was this easy…” ; break ; case 2 : break ; default : break ; } super . onListItemClick( lv , v , position , id ); } }
As you can see, each item in our list is a HashMap containing two String keys: “title” and “text”. The title will be used later on when we switch views to display the text value underneath it (i.e., viewing an item). If you notice below, I am setting the titles of items 1 and 2 in the JSON file under their respective key values so they show up automatically instead of having to write some code for this. We also have the ArrayAdapter which takes in an object array (of HashMaps), so all our identities are already set up when it comes time to use them. Finally in that method that was called above when you clicked on an item.